THE REHAB BLOG
Articles to help you get your rehab done right
Latest Articles

|
ACL Injury Prevention for Sport6 Key Exercises to Reduce Knee Injury RiskACL injuries are among the most common and devastating knee injuries seen in sport, particularly in activities involving jumping, landing, cutting, pivoting and high-speed directional change. A structured injury prevention program focusing on strength, landing control, balance and movement quality can significantly reduce ACL injury risk. by Tim Keeley 20 May 2026 |
|
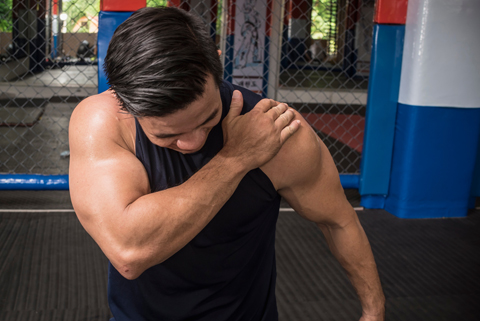
AC Joint Injury Rehabilitation: From Impact to Full RecoveryWhy Rehabilitation Is Essential After an AC Joint InjuryAn AC joint injury occurs when the ligaments that stabilise the joint are overstretched or torn, usually following a direct impact to the shoulder or force across the body. Proper rehabilitation is essential to restore strength, mobility and shoulder control — and to reduce the risk of reinjury. by Krisitn Cameron 03 Mar 2026 |

|
Stiff Lower Back in the Morning? Stretch Your Back in 10 MinutesA physio-designed routine to reduce back stiffness and get moving againMany people expect back stiffness that started over the holiday period to simply fade away once life returns to normal. But weeks later, the back still feels restricted first thing in the morning, slow to loosen up, and not quite reliable. The good news is that for most people, this isn’t a serious injury. by Tim Keeley 08 Feb 2026 |
|
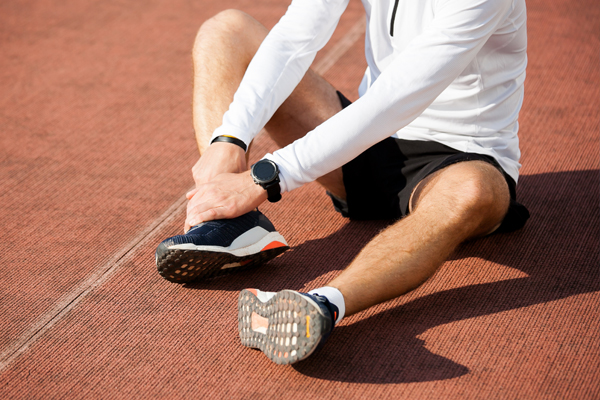
The 3 Pillars of Ankle Sprain RehabWhy Regaining Mobility, Strength, and Stability After an Ankle Sprain Is EssentialLateral ankle sprains are among the most common musculoskeletal injuries in both sport and everyday life. While sprains vary in severity—from mild stretching of the ligaments to complete ruptures—the majority can be managed conservatively with appropriate rehabilitation. In some cases, however, severe injuries may require surgical intervention. by Pamela Wolfe 15 Dec 2025 |
|
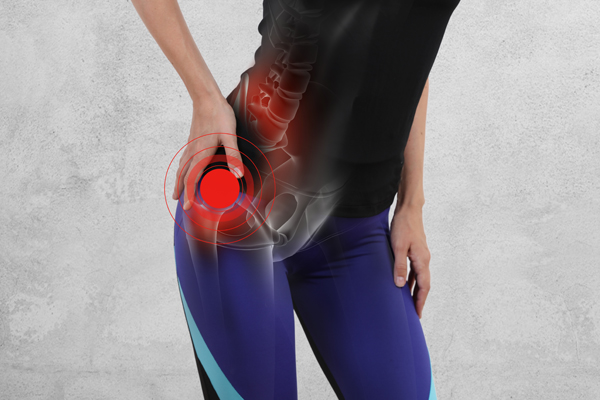
Understanding Hip BursitisCauses, Anatomy, and Effective TreatmentHip bursitis is a common source of outer hip pain. It affects people of all ages, from active individuals and runners to those who spend long hours sitting or standing. While symptoms can appear suddenly, hip bursitis often develops gradually due to muscle imbalances, movement dysfunction, or overuse. Early assessment and physiotherapy treatment for hip pain can make a significant difference, helping to resolve pain quickly and prevent it from becoming a long-term issue. by Krisitn Cameron 09 Nov 2025 |

|
Acute Low Back PainMuscle Spasm Release Routine for Quick ReliefIf you’re experiencing acute low back pain with sharp, intense movement pain and that dreaded “locked up” feeling, you’re not alone. Many people with a lumbar disc injury or recurrent lower back strain get flare-ups where their back goes into protective muscle spasm. When your spine is in this “guarding” mode, normal stretches and core rehab exercises often feel impossible. That’s why I use this muscle spasm release routine in the clinic, it’s a gentle way to calm spasm, unlock movement, and prepare your back for proper rehab. by Tim Keeley 01 Oct 2025 |
|
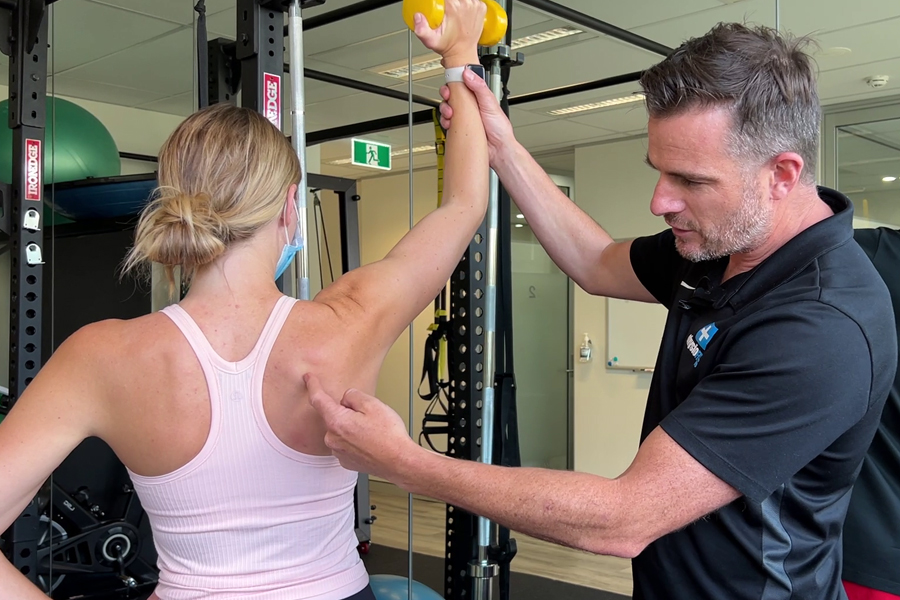
What is the Rotator Cuff?And why do Physios care about it so much?I’m sure you’ve all heard of the rotator cuff and how important it is to keep it strong. But do we really know why it is so important? In this blog I am going to take you through the fundamentals of our shoulder anatomy and biomechanics, and the role of the rotator cuff in shoulder health and function. We will discuss what happens if there is a muscle imbalance or a mismatch in strength between the major shoulder muscles. by Pamela Wolfe 27 Jul 2025 |

|
Calf Muscle TearsUnderstanding the Injury and Your RecoveryCalf tears are one of the most common injuries in sport, especially in activities that involve sudden changes of direction or explosive acceleration and deceleration. These injuries occur when the force placed on the calf muscles exceeds the strength of the muscle fibres. This can happen suddenly (acutely) or develop over time due to cumulative strain. They are often extremely painful and, depending on their severity, may lead to considerable loss of function, swelling, and bruising. by Krisitn Cameron 30 May 2025 |

|
Private Health InsuranceWhich is the right one for YOU?Is health insurance worth having for Physio treatments? How much should I be paying for my policy? Health insurance is something our patients ask us about regularly. So to help you get a better handle on the topic, this month we’ve gone straight to the experts for advice – enlisting the team at healthslips.com.au. Here are all your top questions about health insurance and Physiotherapy, answered. by Tim Keeley 05 May 2025 |

|
Are You Run Ready?Strength and Mobility Secrets for Prevention of Common Running Injuries and Optimising Performance.Running is a fantastic sport, but as many of us are aware, it can be highly demanding on our bodies. We see many running related injuries in the clinic such as patellofemoral pain; ITB pain; anterior hip pain; lateral hip pain; and achilles tendon pain. A common theme we see accompany these injuries is that those presenting with them are not following an appropriate strengthening and mobility plan to accompany their running. In particular a lack of single leg strengthening and control work, and an appropriate mobility regime. by Pamela Wolfe 12 Mar 2025 |
NEVER MISS A THING!
Enter your details to stay tuned for all the updates at our clinc, fresh new blog articles, the latest videos, free seminars as well as upcoming events and promotions.